

Flood's Guide to Taking Nice Photos
The gear, techniques, and recipes I use to take my pictures


Flood's Guide to Taking Nice Photos
“I get asked about this all the time,” would probably be an overstatement.
I occasionally get messages asking about my camera setup. But, I’ve noticed the frequency ramping up! “What camera do you use?” “Is this film or digital?” “What recipes?” “How do you get those golden colors?” "… those deep blues?”
I’ve received enough messages to conclude that there’s a growing population of camera-curious people out there. Some, like I was, are frustrated by their overprocessed iPhone photos and want a camera to take their photography hobby to the next level. Others, already camera owners, are looking to go deeper into their interest, achieve a certain look, or learn a new trick. Maybe you’re in a third group; if so, I’d love to hear about the root of your curiosity.
Before we dive in, I want to be very clear about the angle I’m writing from. That is: A self-taught photographer who bought his first camera 2 years ago as a way of (primarily) advancing personal creative pursuits. I don’t have a background in photography — didn’t go to art school or spend my formative years locked in a dark room. I say this not to discredit myself or downplay my skills, but to level set on how deep and technical we’ll get here (not very).
My goal isn’t to tell you everything you need to know to be a photographer — it’s to prove that immense growth and beautiful photos are possible with the right tools and a keen desire to learn and improve.
I’m linking to the gear and recipes to make things easier, not because anything here is sponsored. If you feel inclined to back this creative endeavor, consider upgrading to a paid subscription. The support means more than you know!

Gear
All the physical items I use to take photos
Let’s take one quick step back here. I knew I wanted something more than an iPhone to take photos with — but I didn’t know what. For a while, I thought the solution was film — I loved the nostalgic look, grainy texture, and vibrant colors. And the idea of using something ‘analog’ really appealed.
But I’m beyond thankful my friend Hannah steered me toward a digital camera. “Start digital, build a foundation, and take as many photos as you can. You’ll be too particular with your first film shots. Start shooting and making mistakes.”
Phenomenal advice, truly.
FUJIFILM X100V — Naturally, the single most important piece of equipment on this list. I take all my photos with a FUJIFILM X100V, which is a fixed-lens digital camera. I feel so confident with this thing in my hand. It has everything I need — actually, much more than I need — in a relatively small, portable body. There’s built-in flash (which I didn’t know how to use for the first 8 months), tons of ability to customize settings (which I’ll get into in a bit). I’m so unbelievably happy with this purchase — it has been well worth the $1,300 price tag, which I realize is not a small dollar amount.
Peak Design Everyday Sling v2 — Like setting up the crib before the baby’s born, I bought this bag before the camera even got delivered. At first, I was carrying the bag with me everywhere because I was afraid of banging up the body. Now, I use it for storage at home, as a layer of protection in my backpack when I’m traveling, and on days I think it’s gonna rain. It’s a functional bag — sturdy zippers, thoughtful compartments — most Peak Design items are.
Peak Design Leash Camera Strap — The out-of-the-box FUJI strap is kinda flimsy, so I upgraded here and haven’t looked back. I opted for a length that could go cross-body and have the camera hang just above my hip, which always feels secure and gives me quick access to grab and shoot.
Hoya 49mm HD3 UV Filter — Clear filter that absorbs ultraviolet light and reduces the bluish cast of daylight. And protects the lens. You’ll need an adapter to install this, which I bought after-market on Amazon.
pro[master] Battery Charger + extra battery — I can get through like 3 full days of shooting on a single charge (less if using a lot of flash). But when I’m traveling, it’s nice to have a second battery and to be able to charge via USB.
Lexar 256GB High-Performance SD Card — 256GB is more than enough for me. I transfer photos to my phone almost daily and delete them from the memory card.
USB-C to SD Card Reader — At first, I was trying to use FUJIFILM’s (terrible) bluetooth transfer. But now I stick this cable into my phone’s battery port and insert the SD card. Like a 30-second process that makes importing photos to my phone so damn easy.
JOBY GorillaPod Mini-Tripod — Just bought this thing! Wanted to start taking videos with the camera, but it doesn’t have built-in stabilization, and my hands are (apparently) a little shaky.
Shot fully automatic, using Reggie’s Portra film simulation
Technique
Tools within the camera that I mess around with
Aperture — When I was first shooting, I was frustrated that only parts of the scenes were in focus. This was especially noticeable with food photos, where only the front portion of a dish would be clear. Now, I shoot at a pretty high aperture, usually f/11, sometimes f/8, which essentially means a wider depth of field, and more things in focus. This allows me to get all the elements of a scene looking crisp, which is how I like it! In broad daylight, I leave the aperture on auto.
Exposure — I like a darker, moodier feel in my photos versus bright, vibrant shots. So I gravitate toward underexposing my photos and adjusting upwards in post-production when needed. Plus, it's easier to recover detail from shadows than from a blown-out exposure. Usually have this between -2/3 and +1/3 on the dial.
Shutter Speed — Not something I usually play with. But recently I’ve been experimenting with some slower shutters to create a motion blur effect, which has been a cool way to add some energy to my photos. For shots where I have plenty of light, I use 15 (1/15 of a second) on the dial. Otherwise, I’m just using auto-shutter.
Rangefinder vs Digital — Most of the time, I’m looking at the digital screen to frame up my shot. The rangefinder has that desirable ‘analog’ feel to it, though. Which is especially fun for nights out with friends, where you want to treat it more like a point-and-shoot film camera.
Built-In Flash — Used after sundown, and in especially dim restaurants. The camera’s built-in flash is really good (and so much less intrusive than those digital LEDs). I typically set to +1/3 or +2/3 TTL, which means the camera is auto light-metering. I don’t use daytime flash much.

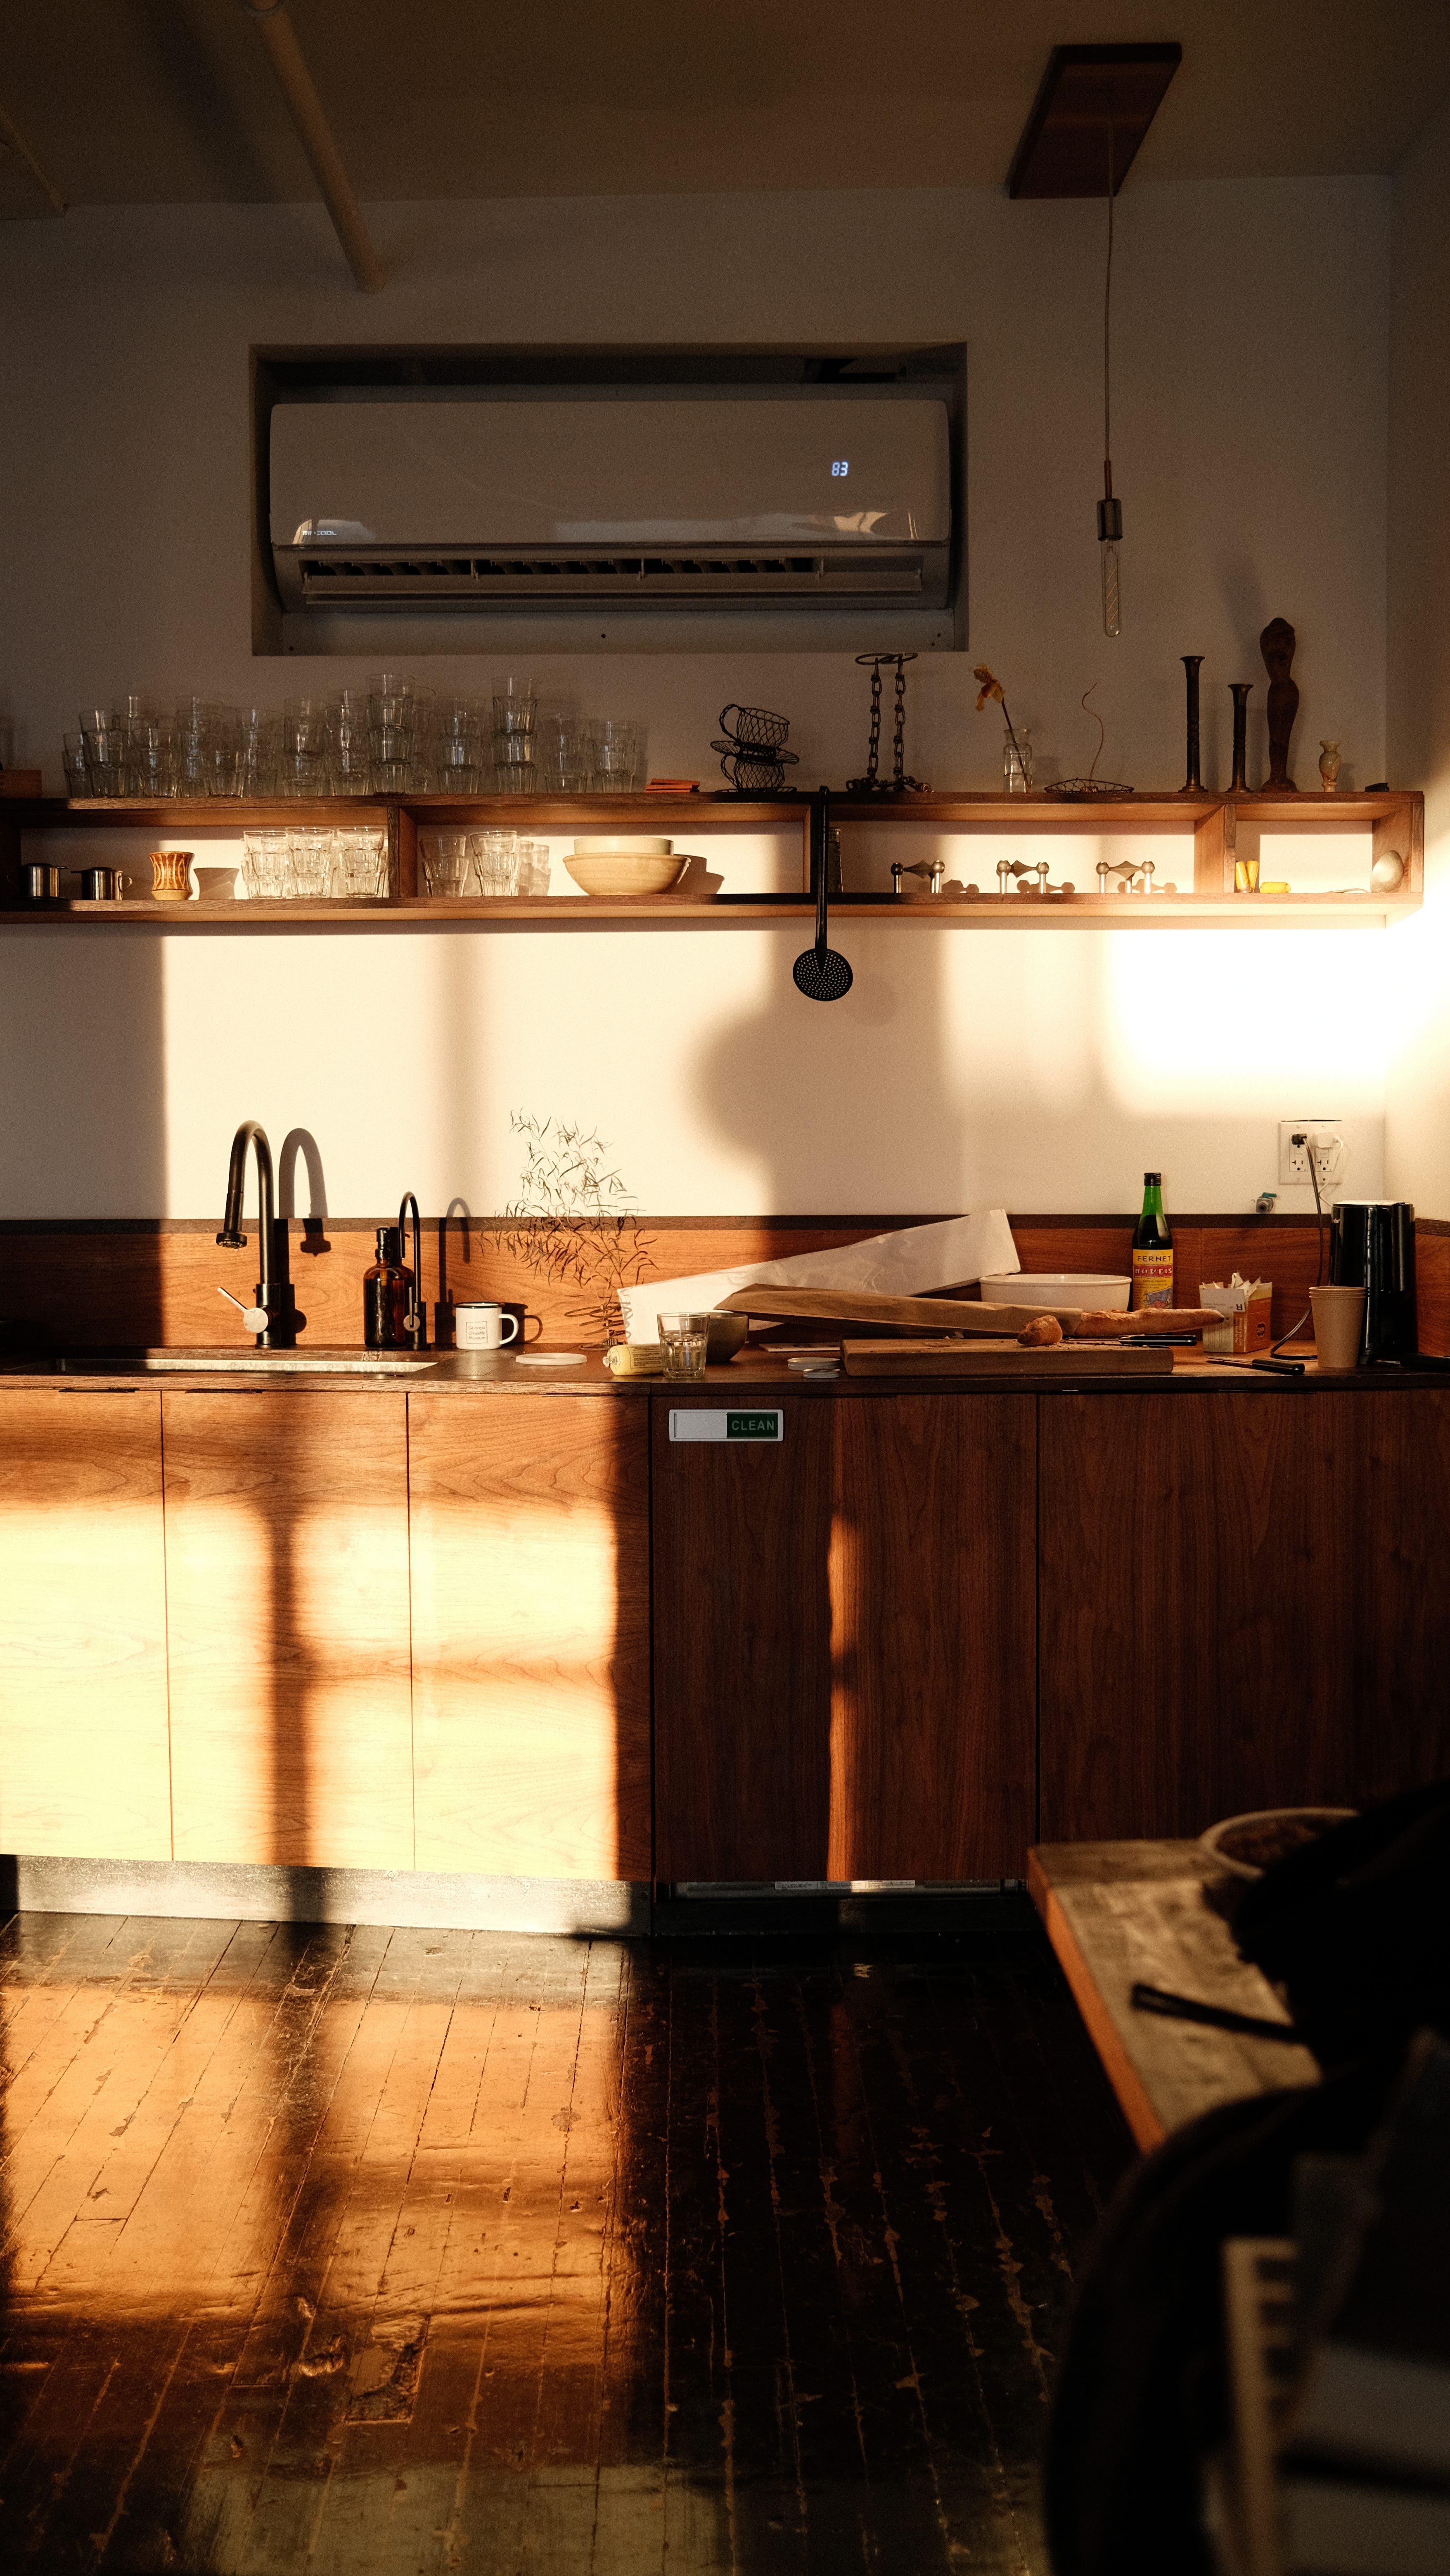
Shot with f/11 aperture and built-in flash — cluttered, imperfect in a lot of ways, but busy and energetic in exactly the way I wanted. 
Slower shutter speed (1/15 second) to capture the motion.


Recipes
Custom settings that alter the way my photos look before I shoot
One of the big selling points of the FUJI camera was the ability to manipulate the settings before taking photos. Things like grain, white balance, clarity, and color chrome effects — which I used to mess around with in VSCO haha — can all be modified directly on the camera. In FUJI-land, they call these “film simulations,” which contain a specific “recipe,” or combination of settings. You can also save these recipes as quick settings and effortlessly toggle between them. What this means, in practice, is that I can change the look and feel of a photo drastically without any post-production. To be honest, I rarely edit the photos I post here and on Instagram — really just client projects, and things I’m gonna print.
These are the recipes I use the most:
Reggie’s Portra — My everyday, versatile film simulation. Modeled after Kodak Portra 400 film, this is the most natural-looking, true color recipe of the bunch. I get weirded out by food photos that are oversaturated because it doesn’t look natural to my eye. Unnatural-looking food = unappetizing. This preserves the natural look and true colors.
Kodak Portra Do Sol — I’ve been loving this simulation lately. It’s how I’m achieving the amber sunsets. It’s a softer look — still warm and colorful, but a bit more cinematic and relaxed. It brings out a golden, mellow vibe even on days when the sun isn’t the best.
Texas Sun — Super warm and a little hazy. Kinda like the “South America” tint on TV shows lol. Not something I use often, but when I was in Austin, TX last year, it resulted in shots that were unmistakably Texas.
Eddy’s Point & Shoot — I call this the 35mm simulation. Very fun for a night out. Super grainy, vintage-looking, kinda warm. When paired with a heavy flash, it’s the closest I’ve found to the look from a Kodak disposable camera — soft and blurred in all the right ways.

Mindset
Some random thoughts about the process of taking photos
This might sound obvious, but the most important thing is to have the camera on me. If it’s not on me, I can’t take photos. I got in the habit of bringing it everywhere.
When it comes to street photography, I treat people like props. Rarely do I want them to be the subject of my photos, but they certainly add life and energy.
Some people don’t want to be props. If they look uncomfortable, be respectful, and move on.
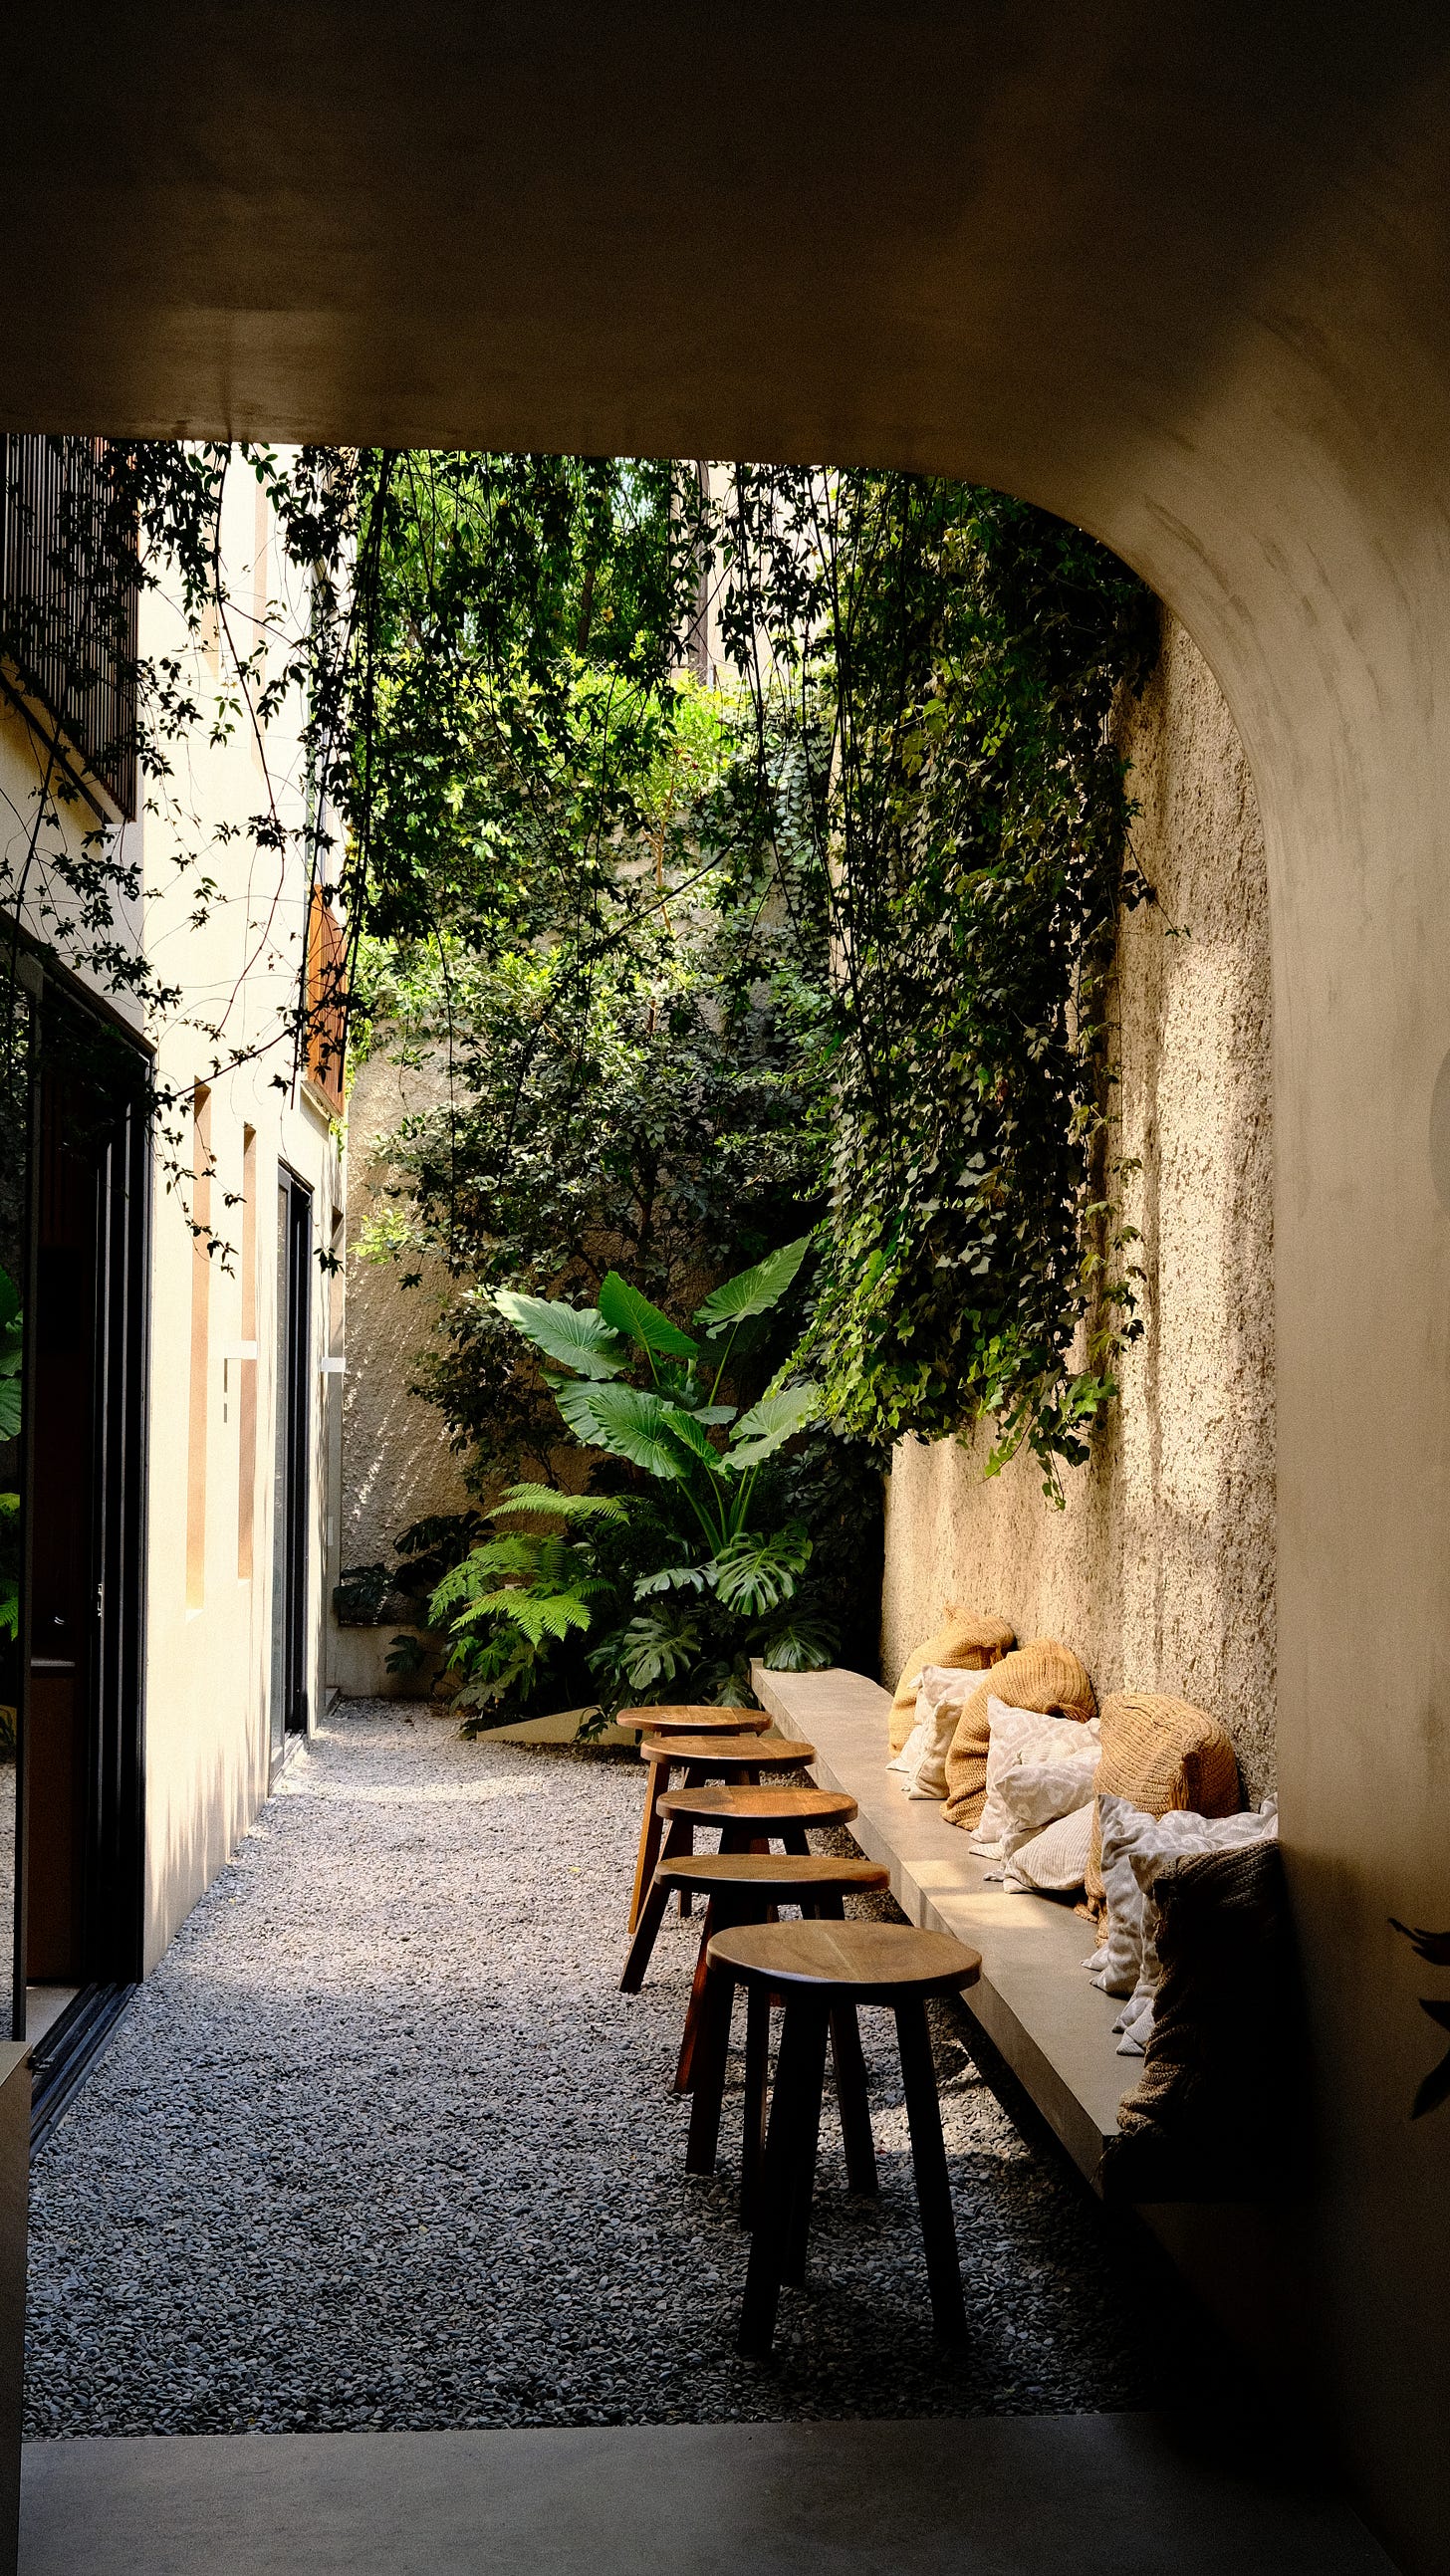
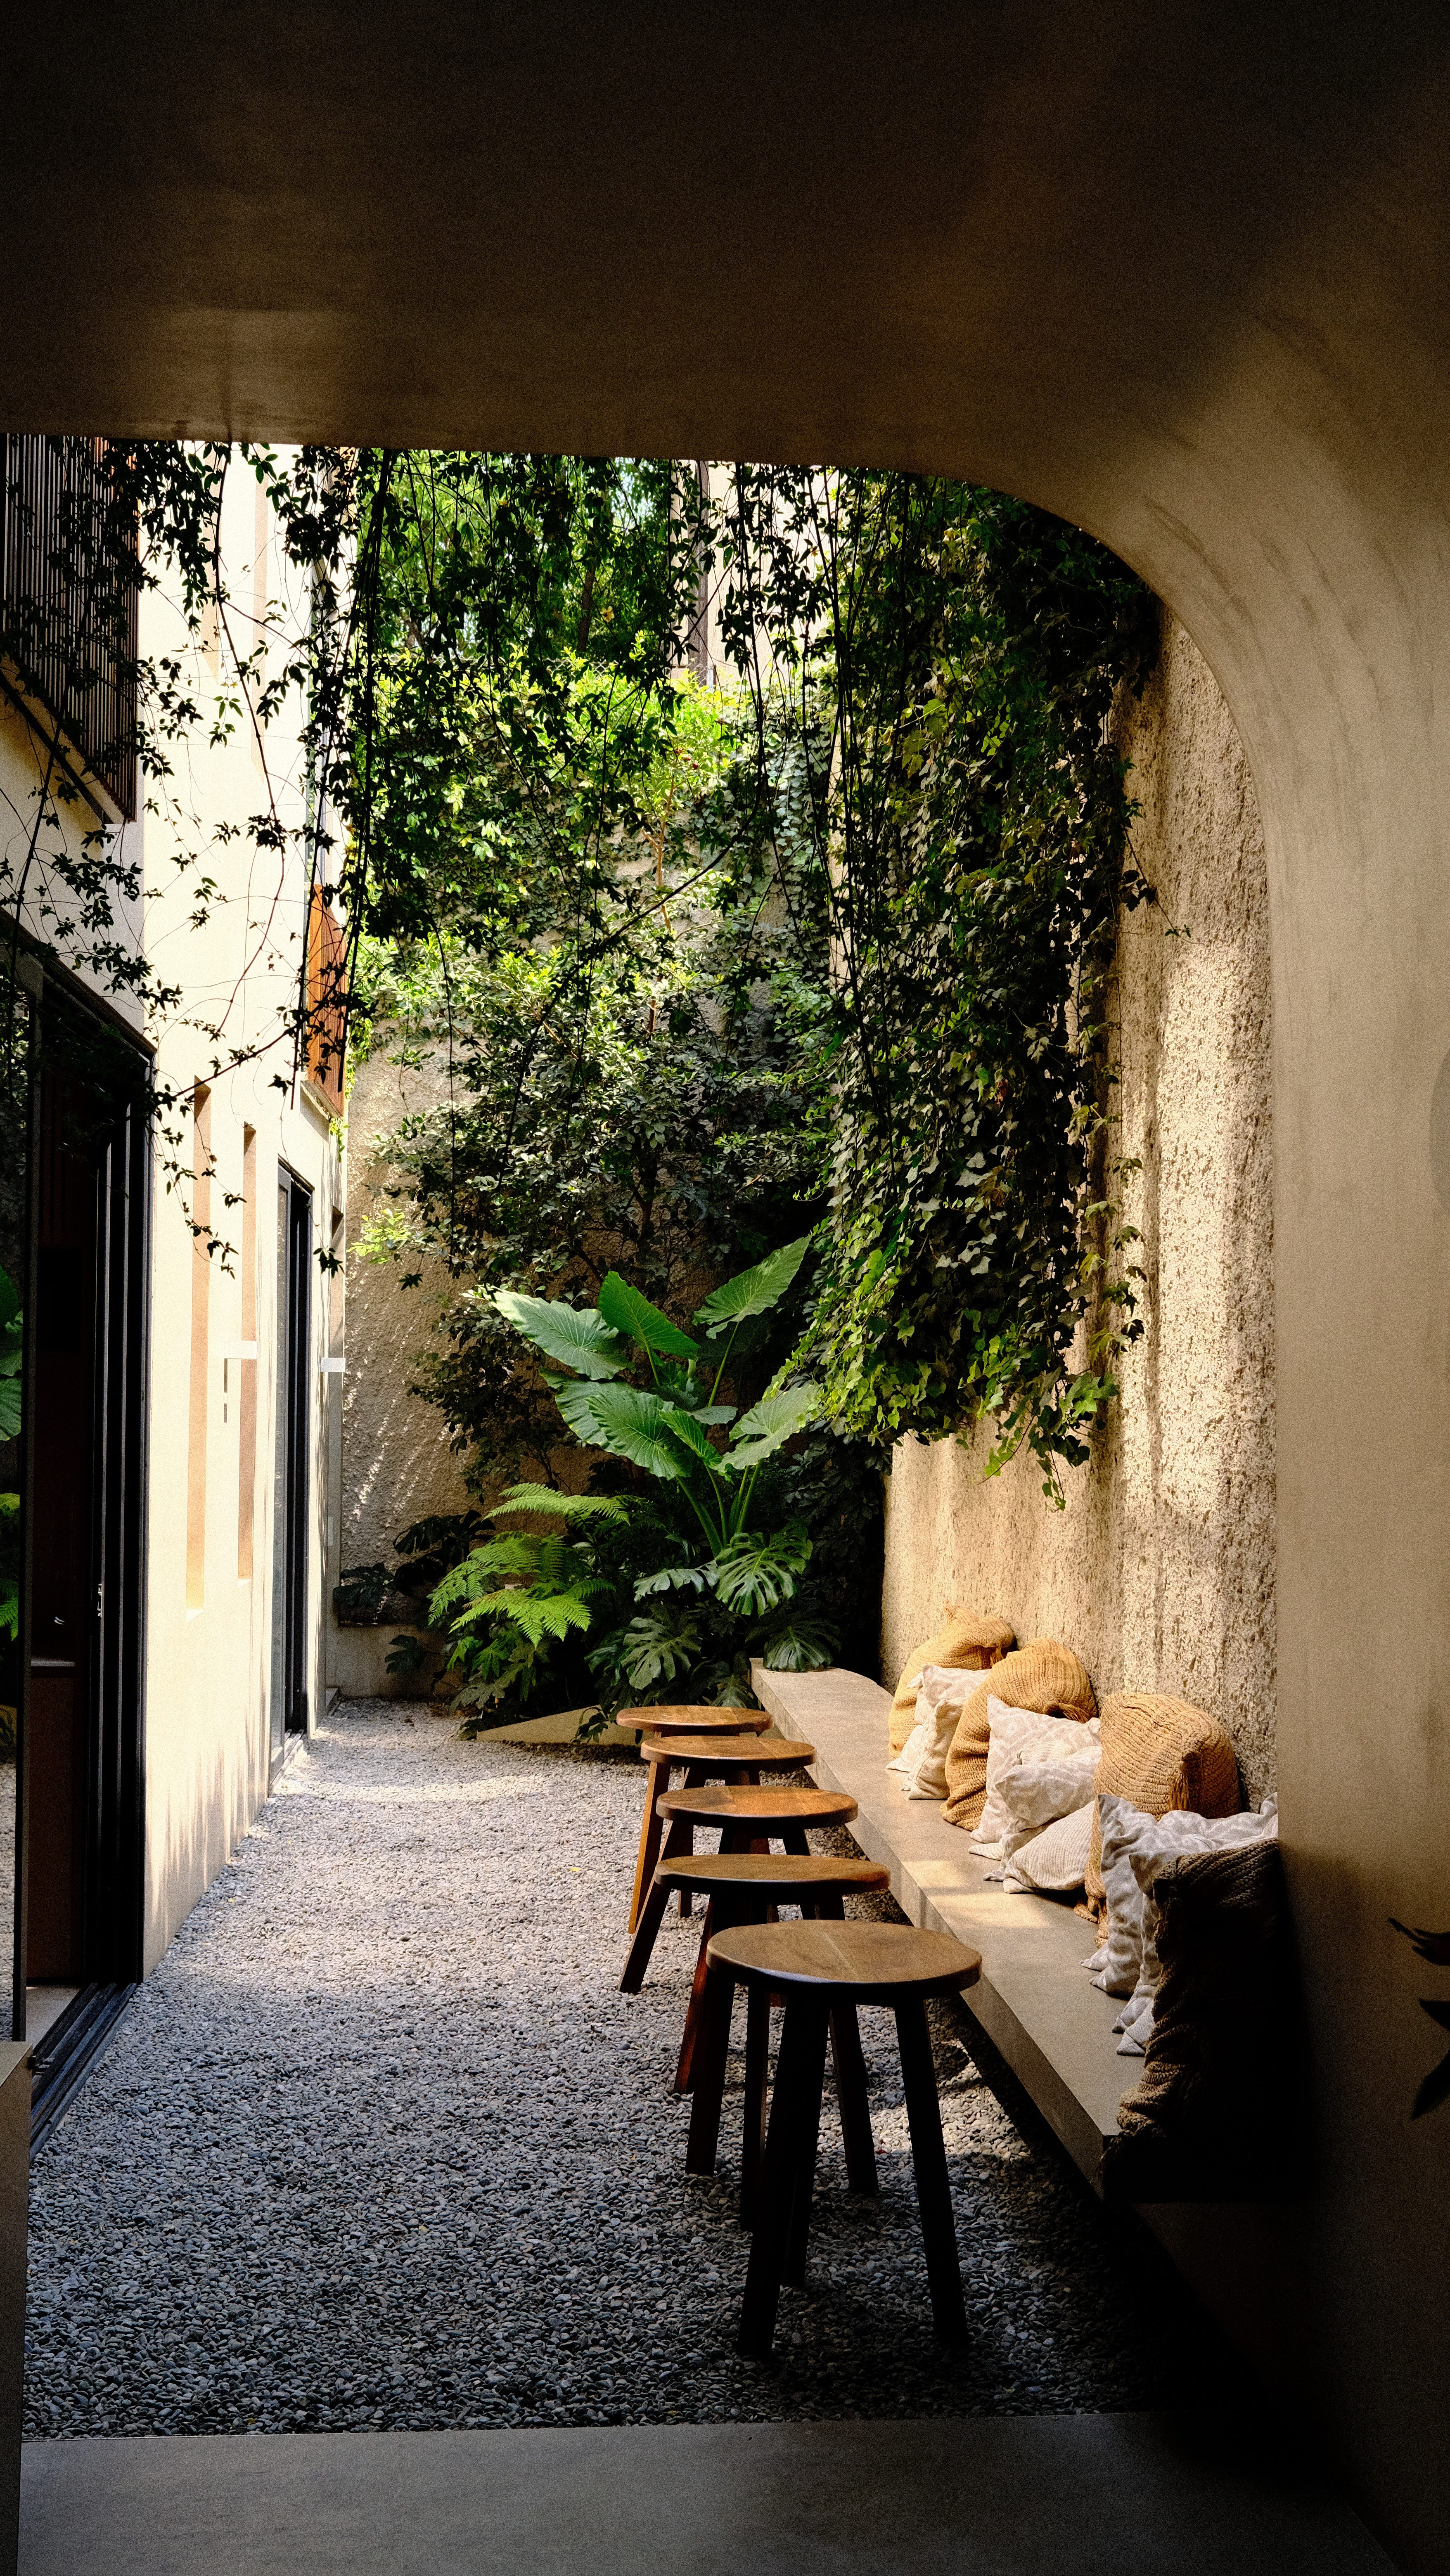
Plants and flowers are sick. Trees are even sicker. A pop of color and texture, even just on the fringe of a photo, goes a long way.
Look up. Ceiling details and light fixtures are awesome. And capturing the height of a room often helps showcase the way it feels to be in a space.
And look down! Tiles, patterns, shadows from barstools — some beautiful stuff is happening on the floor.
The obvious photo is rarely the special one.
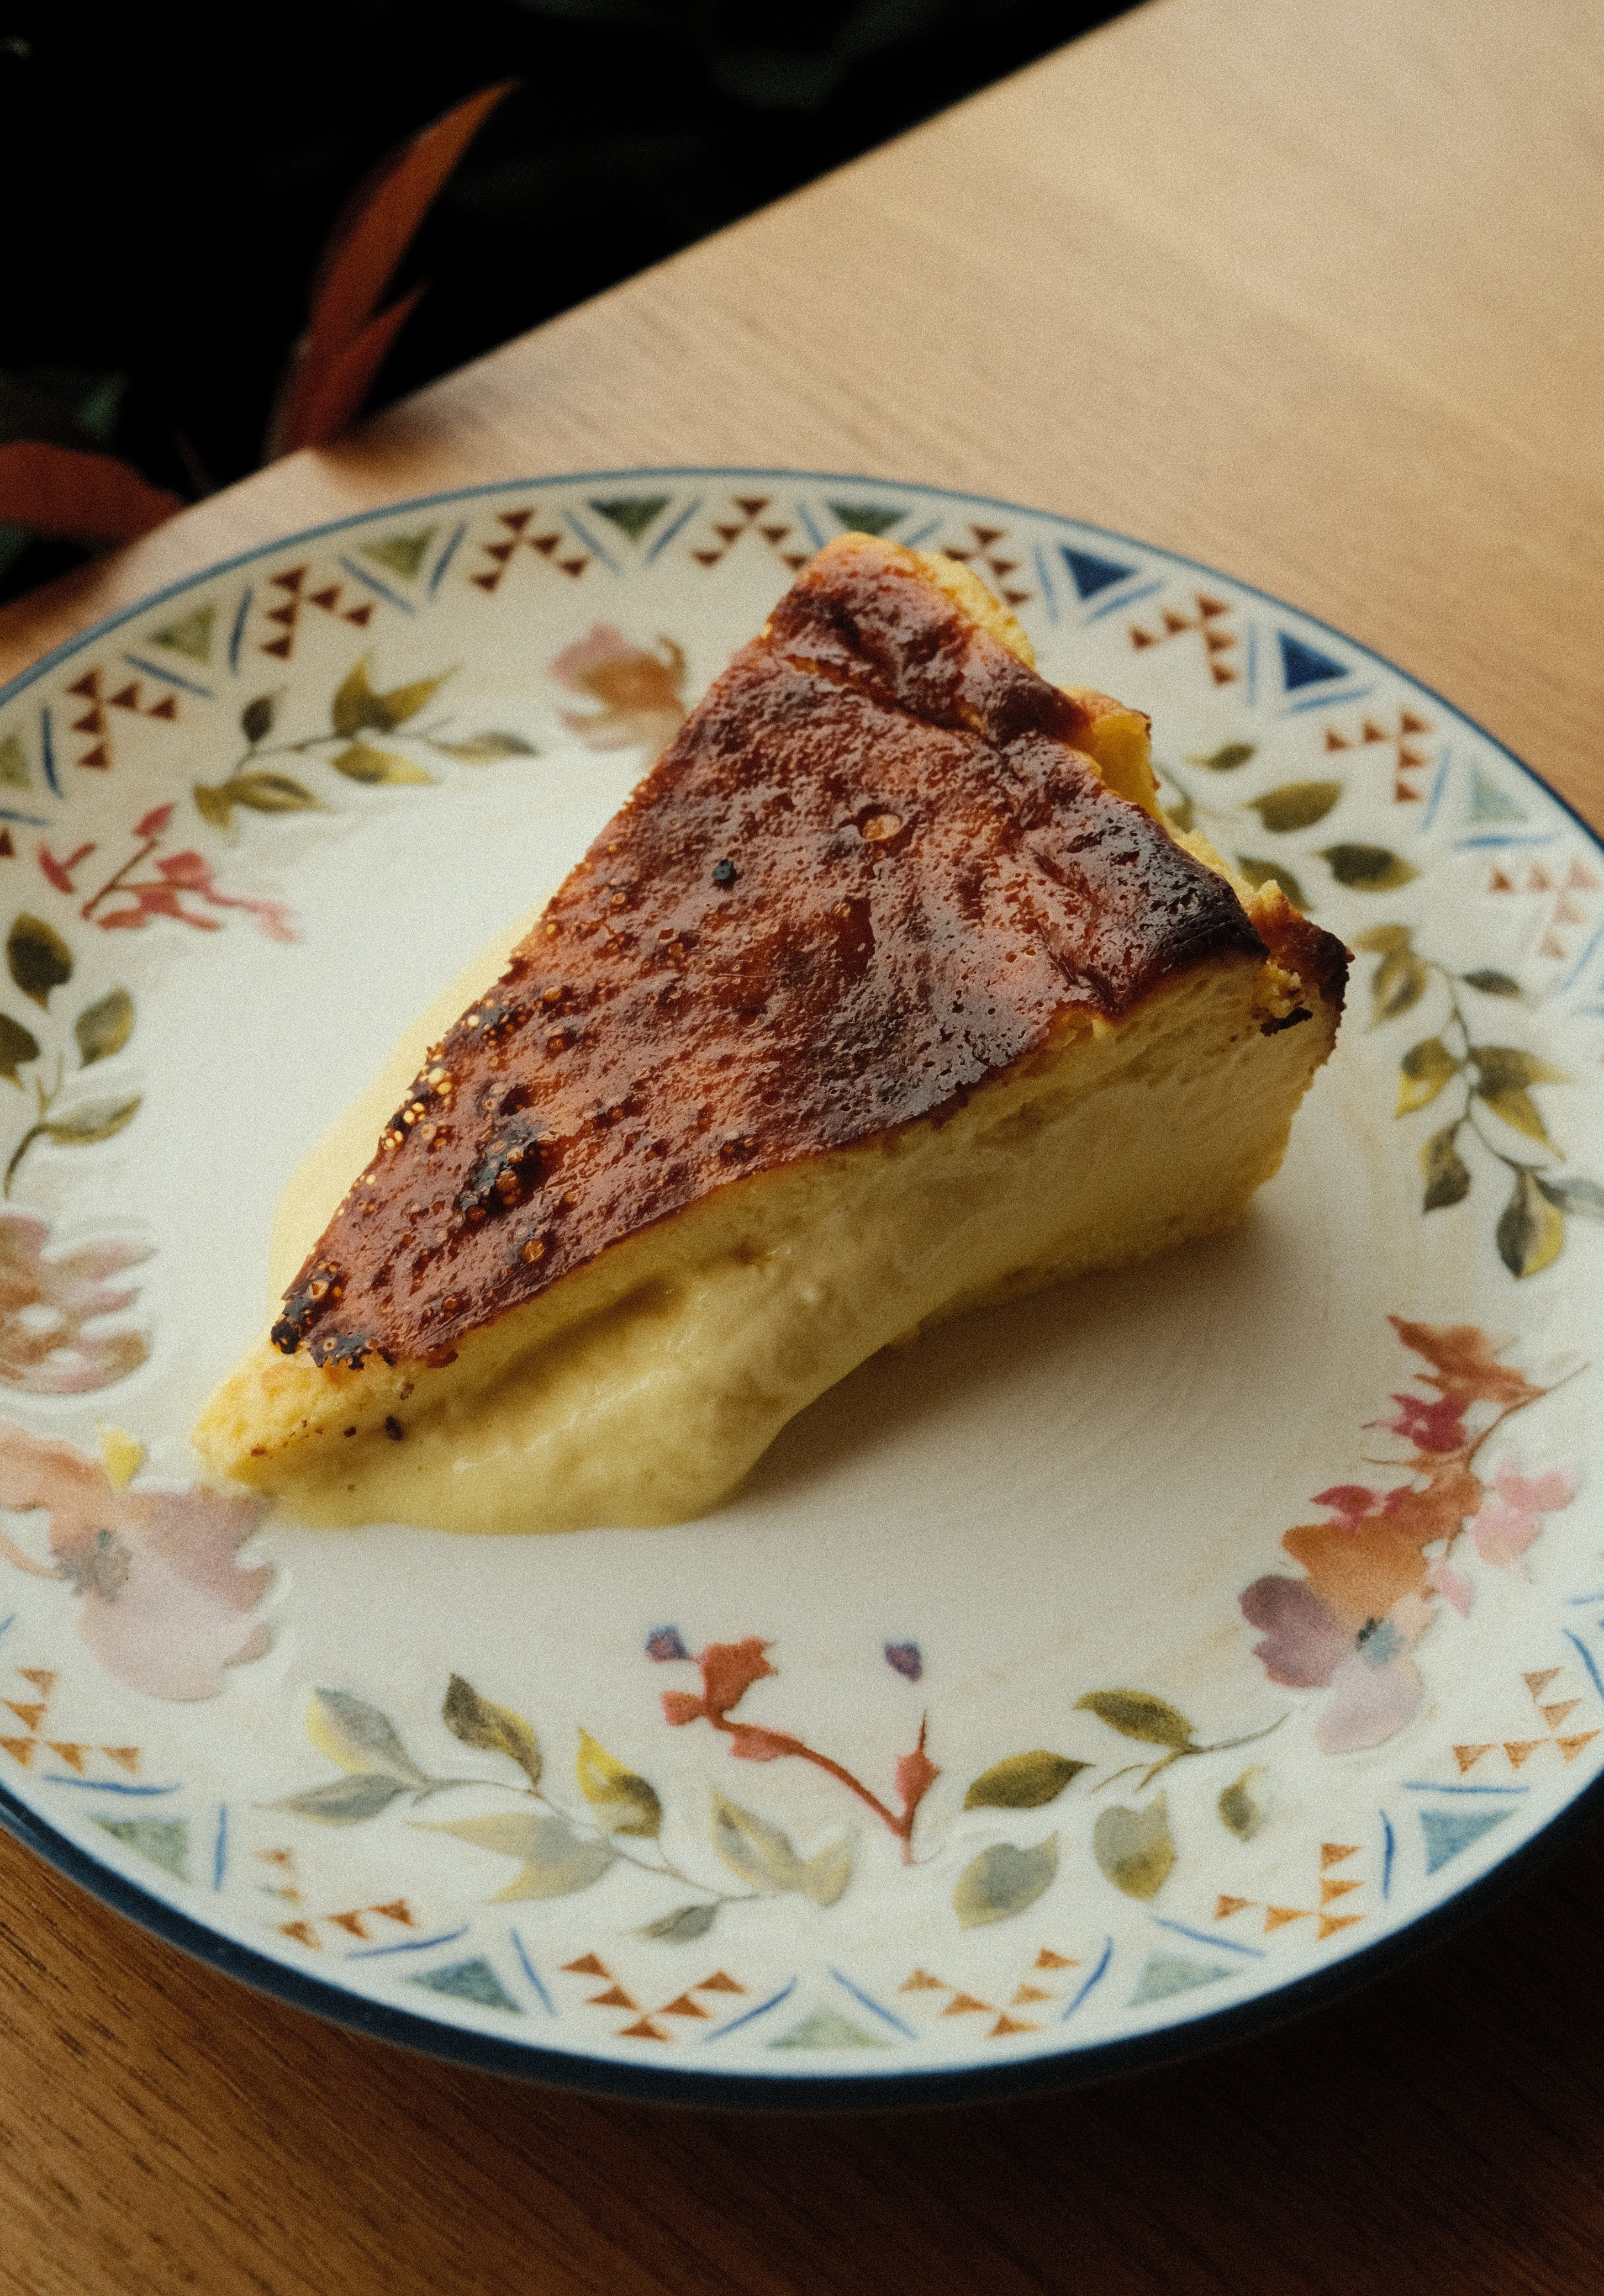
Direct overhead shots of food can be nice, but often feel unnatural to me. I like my photos to feel organic. Like you’re sitting at the table with me. So I usually shoot dishes from around eye-level, sometimes even lower.
Signage — storefronts, street signs, neon — tell some great stories. The more random, the better.
Sunsets are lovely to look at. But the light and shadows they cast are the real magic.
Be patient. Wait for your shot. Take five snaps if you need to. Make sure you get it. If you’re in a group, let them walk ahead, and you can catch up.
Sometimes, messy is better than perfect. I’m talking cluttered and busy — maybe a receipt on the table, a sandwich with a healthy bite taken out of it — not like oil-stained or gross.
Symmetry is great. Asymmetry is also great. A blend of symmetry AND asymmetry is special.
No one will understand what you’re doing in the moment, but when you show them the picture later, it’ll make sense.
Always take a picture of the menu. The menu is such a fundamental part of the dining experience — holding it, perusing the items, ordering from it. And you can look back to jog your memory on the ingredients if you have a reason to recall (see: restaurant write-ups) !!
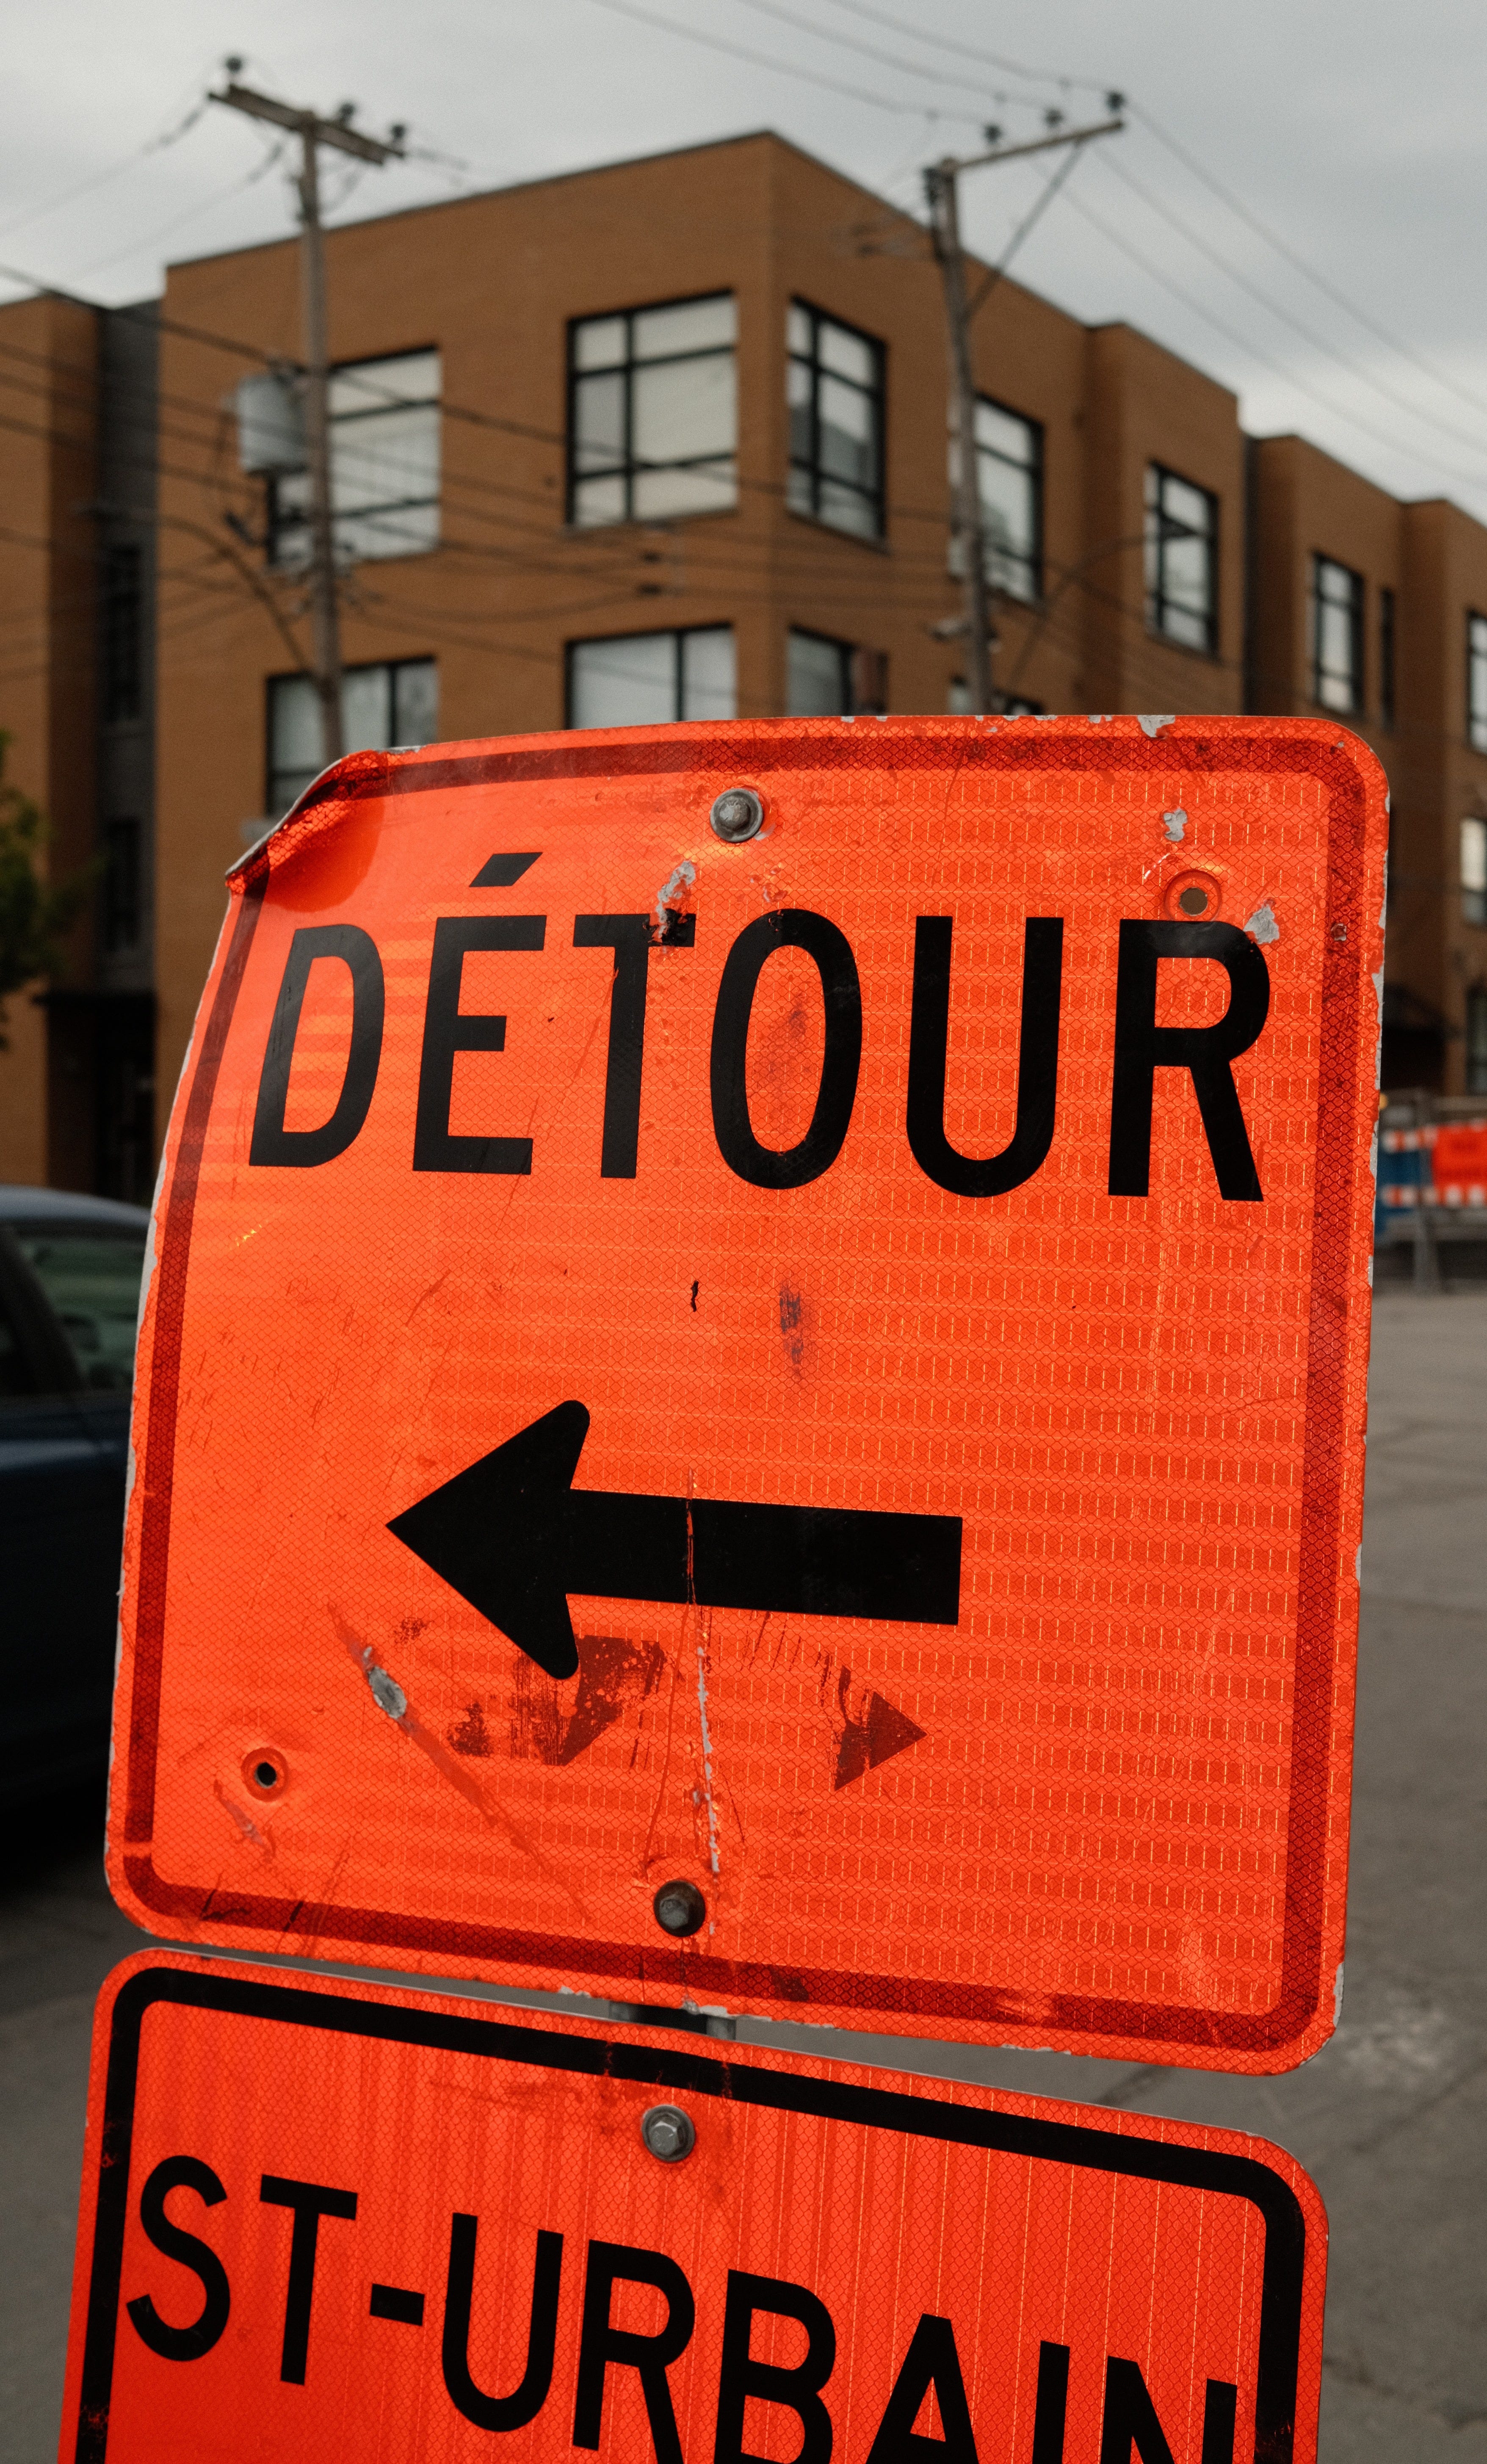
When traveling, focus on the elements you don’t usually see at home — palm trees in Florida, a stop sign that says “Arret” in Montreal. A city’s identity lies in its uniqueness.
Walk whenever you can. I’ve never taken a good photo out the window of a car. Or on a bike.
Let your friends take control every once in a while, otherwise you’ll never get any good pictures of yourself.
I also want to shout out a few photographers who have inspired me:
Colin Clark, Evan Sung, Chris Black, Samantha Hillman, David Coggins, Eric Medsker, Sophie Chen, and Craig Mod.
When I think about evocative photography, great angles, and technical proficiency, these are the people top of mind. The ones who inspire me to keep building this skill set.
Thanks for being here, thanks for reading. Please drop any questions in the comments — I’d love to hear from you. And if you haven’t yet, subscribe below and get Flood’s delivered every Sunday.
So honored to be mentioned 😭 Loved this read!!!! 🫶🏻
Essential reading 👏